Getting started
A first comparison takes four steps. It needs the pricing schedule that was sent out, at the revision suppliers priced, and their returns. Suppliers don't need a template.
Create a project
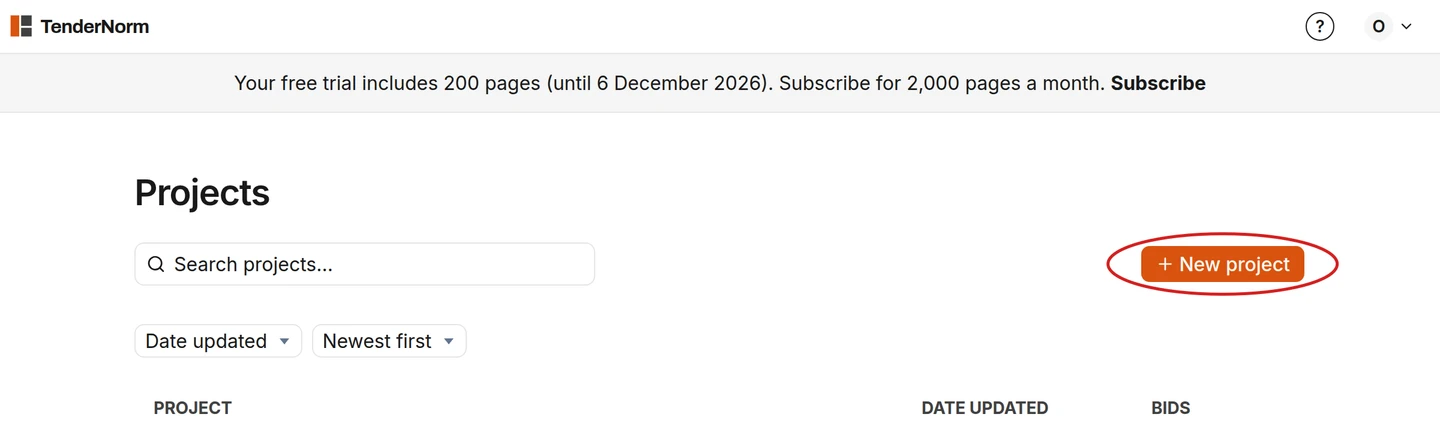
- Sign in at app.bidnorm.com.
- Click New project and name it after the scheme or package. A project holds one baseline and every return against it.
Set the baseline
The baseline is the pricing schedule. Its sections and items become the rows every return is compared against.
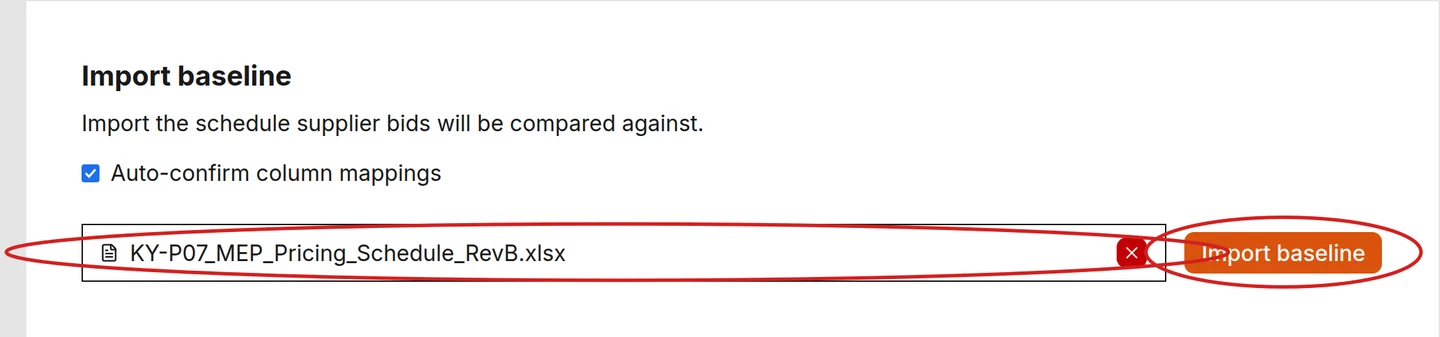
- Click Drop baseline file, choose the schedule, then click Import baseline.
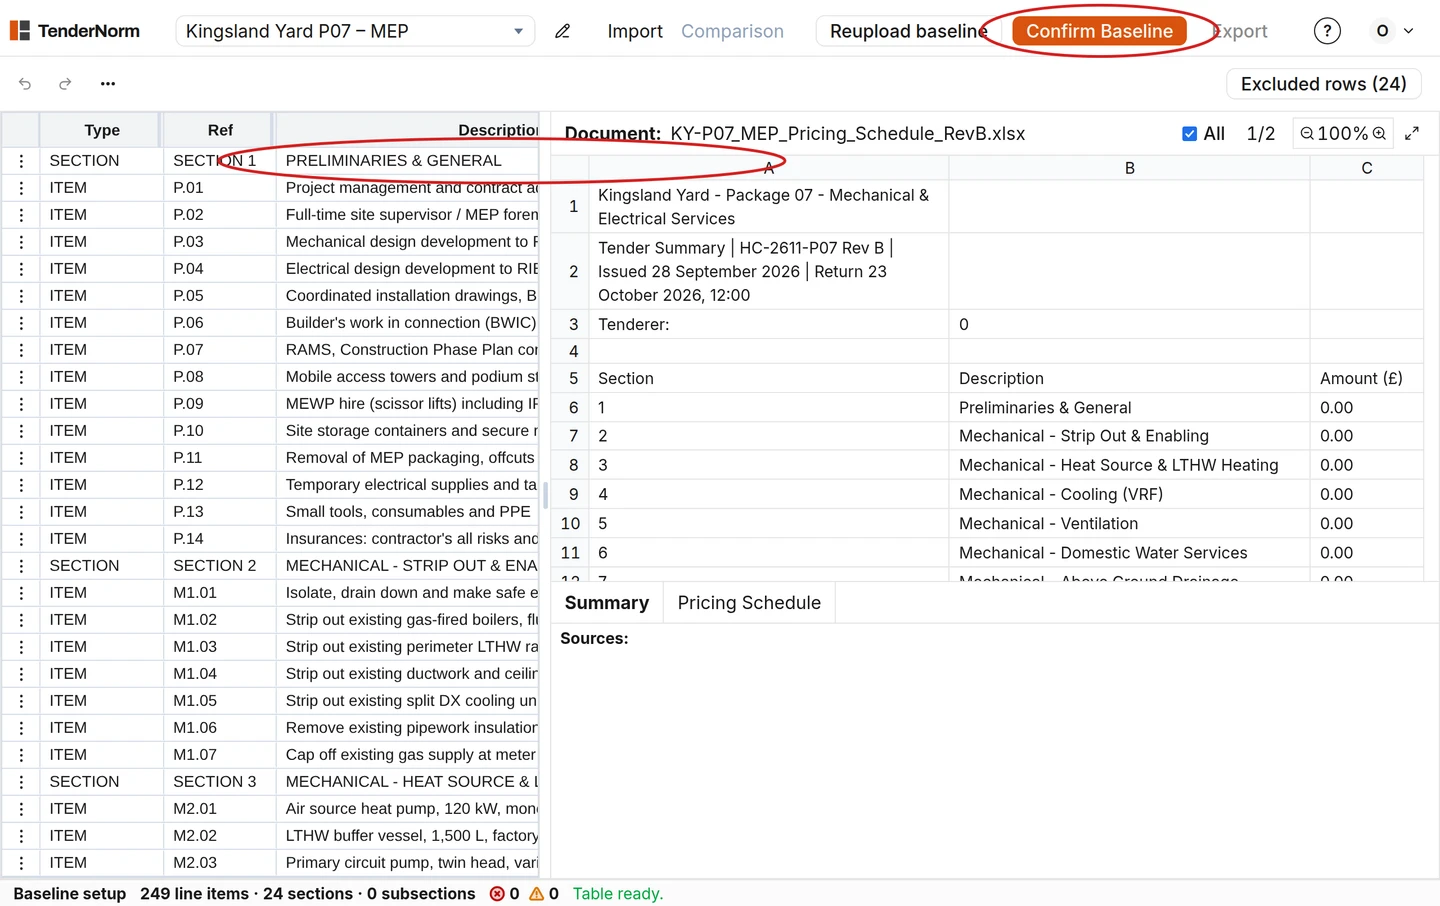
- Check the table against the document beside it, especially the headings. Double-click a cell to correct it.
- Click Confirm Baseline. The structure is fixed from here; item cells stay editable.
Add the tender returns
Upload each return in the supplier's own format: PDF, Excel, Word, CSV or text.
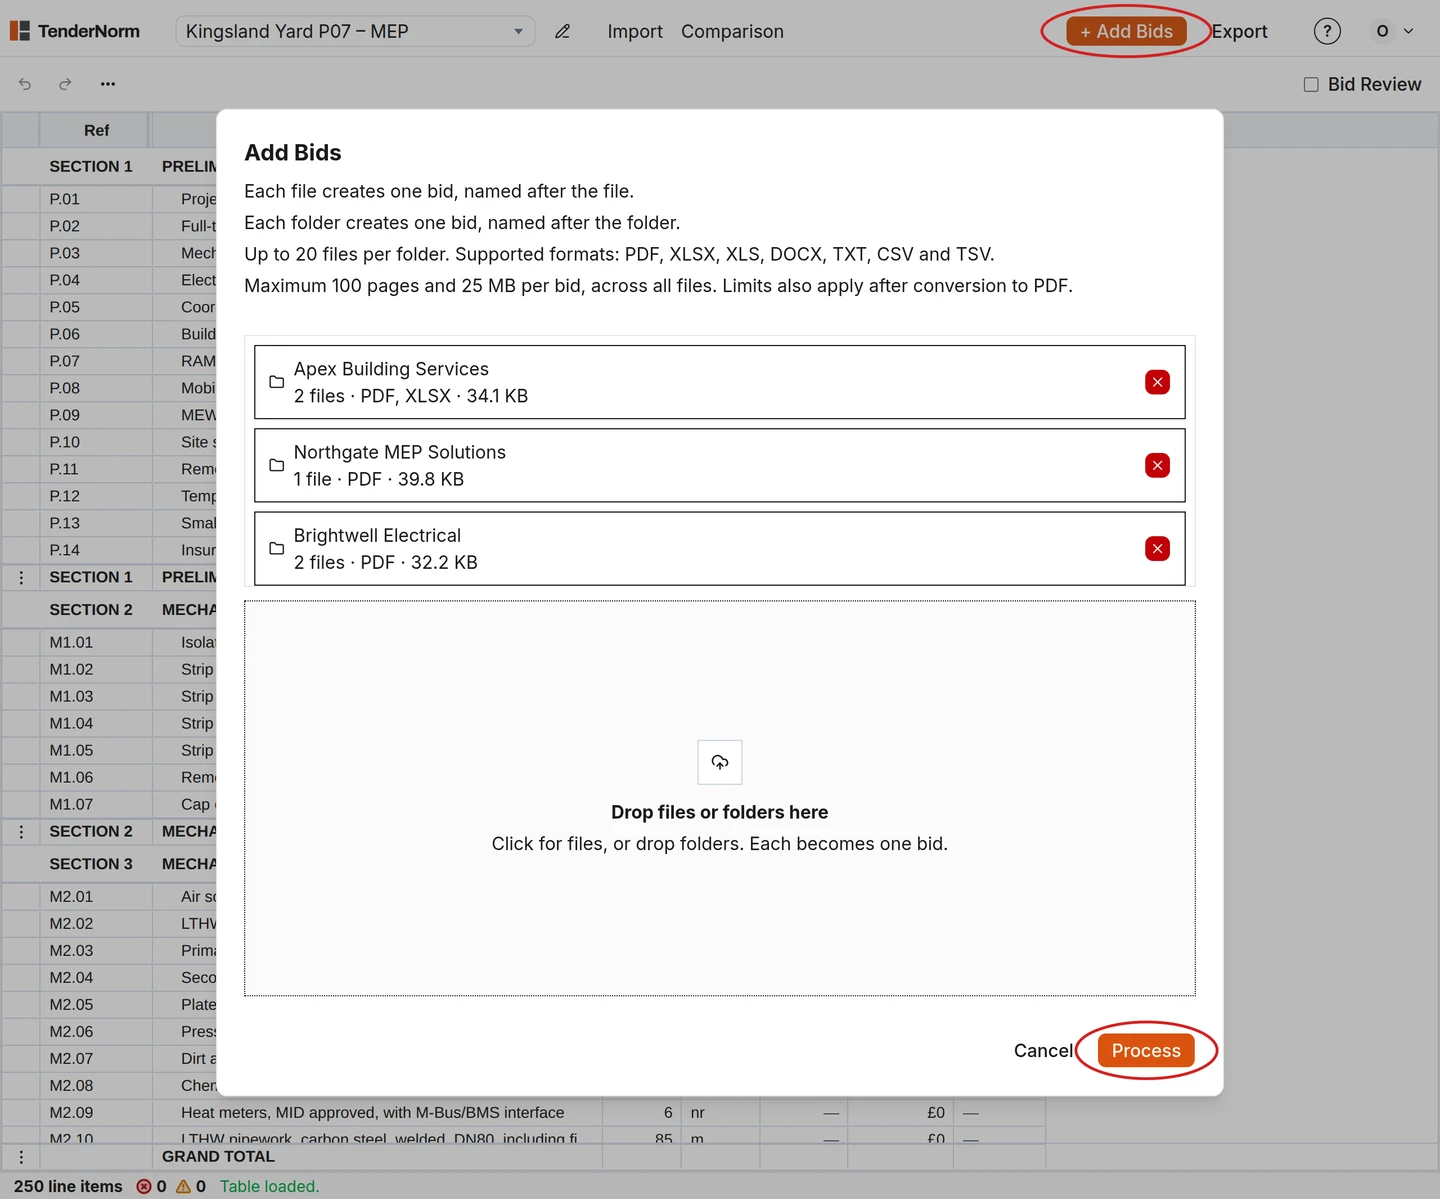
- Click + Add Bids and drop in the files. One file is one bid; use a folder when one offer spans several documents.
- Click Process. The status bar shows progress and the time left.
- Add later returns the same way. Bids already processed are not touched.

Review the returns
Review in the usual order: tender sums, then collections, then items. Reviewing returns covers this in full.
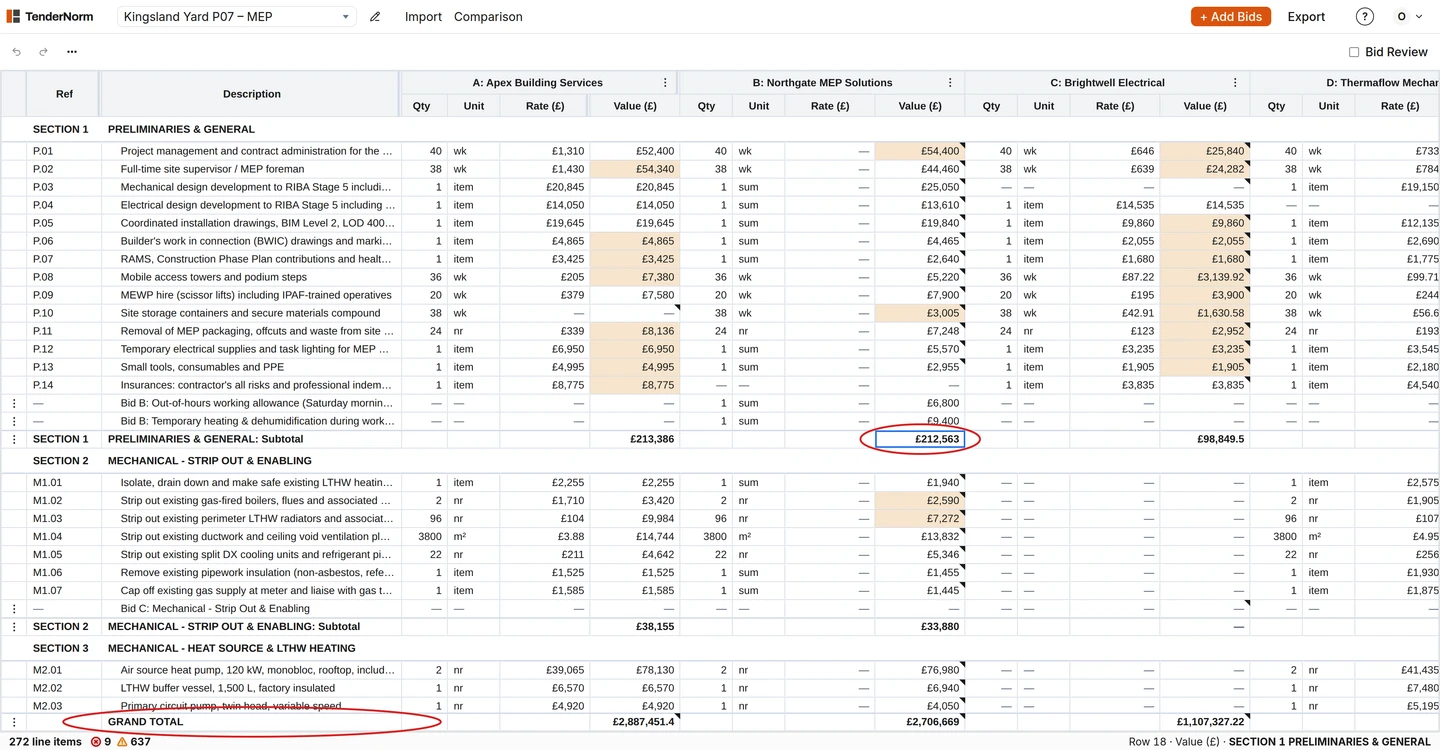
- In Comparison, read the total row. A total that doesn't match the supplier's stated tender sum is flagged.
- Read the subtotal rows across the returns, and open the sections that stand out.
- Switch to Bid Review to check one return against its document, flag by flag.
Export to Excel
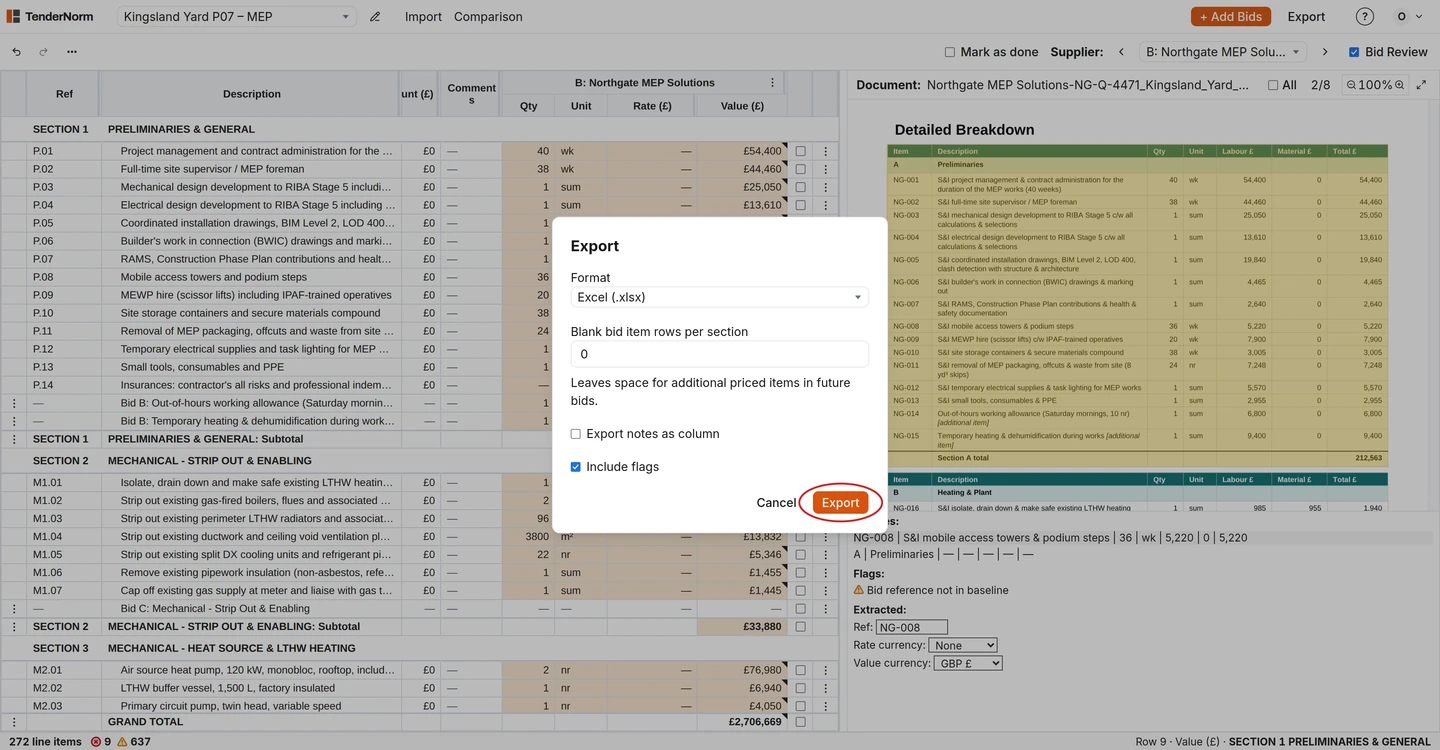
- Click Export in the header, then Export in the dialog.
- The workbook has the baseline, each supplier's Qty, Unit, Rate and Value, live subtotal and total formulas, flags and notes.